How to Use an Aroma Rice Cooker Step by Step
How to Use Aroma Rice Cooker Step by Step: Perfect Rice Every Time
Remember those evenings when you stared at a pot of gluey rice, wondering why your takeout dreams turned into kitchen disasters? You know the feeling—hunger building while you scrape burnt bits off the bottom. That changed for me the day I plugged in my first Aroma rice cooker. Suddenly, fluffy grains appeared like magic, no stirring required. If you’re tired of uneven results and ready to reclaim your stovetop for better things, this guide walks you through how to use Aroma rice cooker from unboxing to pro-level meals. Stick with these steps, and you’ll nail restaurant-quality rice every single time.
Table of Contents
What Is an Aroma Rice Cooker and Why Choose One?
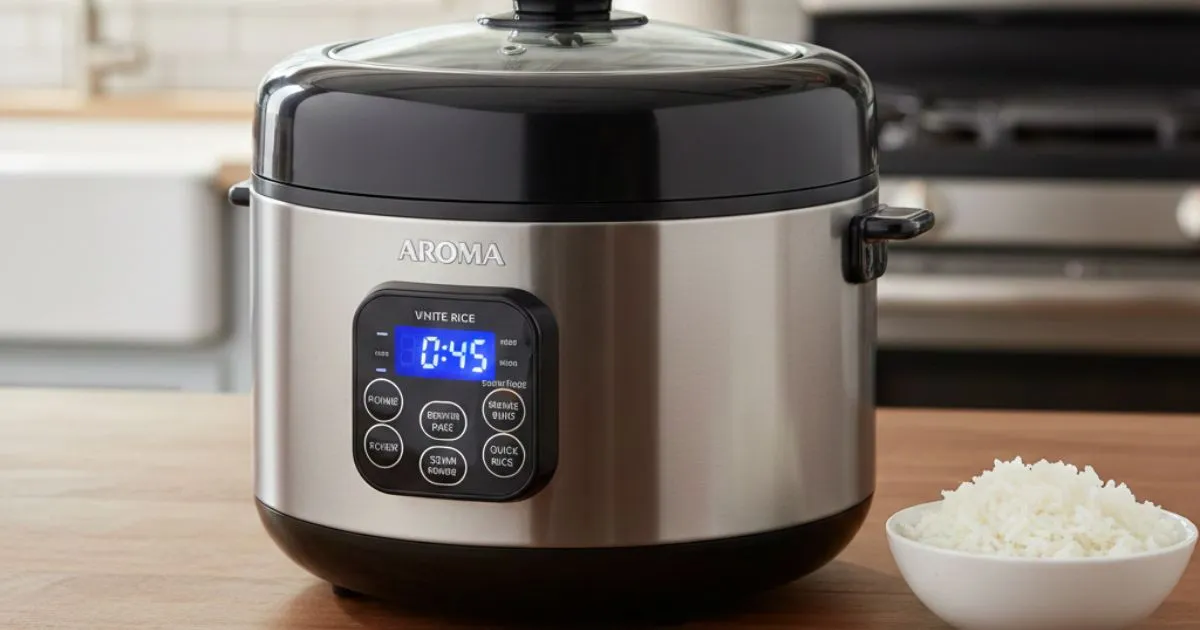
Picture a compact gadget that handles rice, grains, and steaming without you lifting a finger past the start button. That’s your Aroma rice cooker—a workhorse built for everyday kitchens. You get one-touch controls that switch between white rice, brown rice, oatmeal, and even soup settings on fancier models. No more guessing cook times or watching flames.
Why pick Aroma over a basic pot? First, it saves energy—about 70% less than stovetop methods, according to Energy Star benchmarks. Cleanup? A snap with the nonstick inner pot. And it keeps rice warm for up to 12 hours, so your batch stays fresh whether you’re eating solo or hosting friends.
Here are the standout features that make it a game-changer:
- Simple controls: Press one button, walk away.
- Versatile functions: Steam veggies or proteins right alongside rice.
- Delay timer: Set it up in the morning for dinner-ready rice.
- Safety first: Auto shut-off prevents scorching.
Popular picks include the 6-Cup for small households or the 20-Cup Digital for crowds. Consumer Reports gives many models 4.5 stars for reliability—check their latest reviews or the Aroma Housewares site for specs.
| Feature | Benefit | Best For |
|---|---|---|
| One-Touch Controls | Effortless operation | Beginners and busy folks |
| Delay Timer | Rice ready when you are | Meal planners |
| Keep-Warm Function | Perfect texture for hours | Family dinners or parties |
| Steam Tray | Healthy sides in one go | Veggie lovers |
With these perks, your Aroma becomes the quiet hero of weeknight wins.
Unboxing and Initial Setup: Your First Steps
Your new Aroma arrives in a sturdy box—excitement builds as you tear it open. But hold off on cooking; a quick setup ensures flawless results from the start.
Essential Accessories Included
Everything you need sits right inside:
- Nonstick inner pot: Holds up to your max capacity without sticking.
- Measuring cup: Calibrated at 180ml—stick to it for perfect ratios.
- Spatula: Fluffs without scratching.
- Steam tray: For veggies or dumplings.
- Lid and cord: Secure fit with a handy plug.
Pro tip: Rinse all removable parts in warm, soapy water before your debut cook. Dry them thoroughly to dodge any odd tastes. Plug into a standard 110-120V outlet, away from edges where steam might knock it over.
Aroma Rice Cooker Parts Breakdown

Get familiar with the layout—knowing these spots prevents mix-ups:
- Lid release button: Pops open with a gentle push.
- Cook/Warm indicator lights: Green means go; orange signals ready.
- Control panel: Buttons for rice type, steam, and delay.
- Ventilation holes: Let steam escape safely—never block them.
- Inner pot markings: Lines show water levels by rice cup.
Grab the free user manual PDF from aromahousewares.com—it includes diagrams tailored to your model. Spend five minutes labeling mentally, and you’re set.
How to Use Aroma Rice Cooker: Step-by-Step Instructions
This is the heart of it all. Follow these steps precisely, and you’ll master how to use Aroma rice cooker without a hitch. We’ll break it down so you build skills layer by layer.
Step 1: Measure Rice and Water Perfectly
Success starts with precision—too much water, and you get mush; too little, and it’s crunchy.
- Scoop rice with the provided cup—never a mug, as sizes vary.
- Place in a bowl and rinse under cool water two or three times. Swirl until the runoff clears; this removes excess starch.
- Drain well, then transfer to the inner pot.
- Add water to the marked lines inside the pot—no free-pouring.
Ratios vary by type. Here’s your go-to guide:
| Rice Type | Cups Rice | Water Level (Using Pot Marks) | Notes |
|---|---|---|---|
| White/Jasmine | 1-3 | Line 1 | Long-grain stays fluffy |
| Brown | 1-2 | Line 2 | Tougher hulls need more |
| Basmati | 1-3 | Line 1.25 | Fragrant and light |
| Sushi | 1 | Line 1 | Short-grain for stickiness |
These come straight from Aroma’s cooking charts—test and tweak for your altitude or taste.
Step 2: Load and Select Settings
Now load up:
- Nest the pot in the cooker base—twist if it locks.
- Wipe the rim dry to seal properly.
- Close the lid securely.
- Pick your setting: “White Rice” for basics, “Brown Rice” for wholesomes, or “Steam” for sides.
- Hit “Cook.” The light blinks, then steadies—cooking begins.
Don’t exceed the max fill line, or rice might bubble over. If it does, next time dial back by half a cup.
Step 3: Cook, Steam, and Serve
Patience pays off here. White rice takes 20-25 minutes; brown runs 45-50. You’ll hear a click when it switches to Warm—resist peeking early, as it traps heat.
Want steamed broccoli or fish? Pour an inch of water in the pot, add rice if desired, then place food on the tray above. Dual-duty magic.
When Warm lights up:
- Unplug for safety.
- Let it rest 10 minutes.
- Open, fluff with the spatula from the edges in.
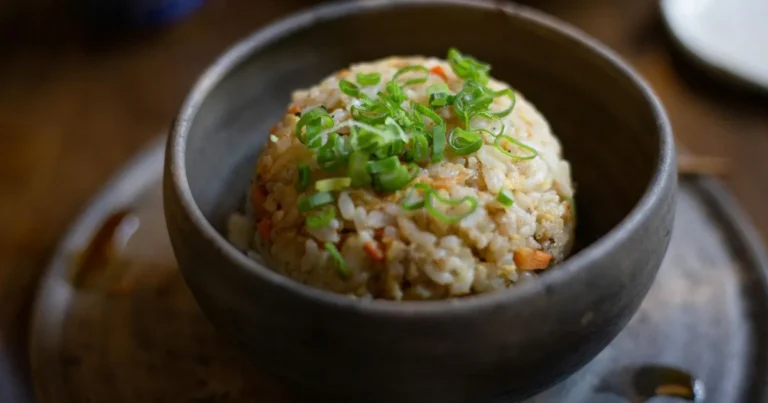
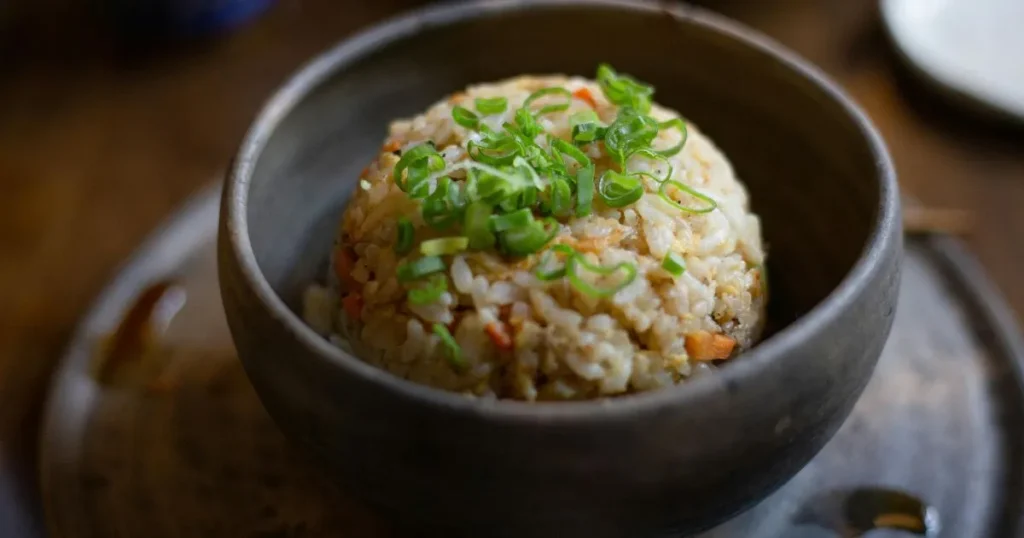
- Serve hot—pairs killer with curries or grilled chicken.
Aroma’s charts confirm these times across models—your kitchen aroma will tell you it’s done.
Step 4: Cleaning and Maintenance
Nobody loves scrubbing pots. Yours stays pristine with this routine:
- Wait 10 minutes for cooldown.
- Unplug and remove parts.
- Wash pot, tray, and utensils—dishwasher top rack works.
- Wipe the base with a damp cloth; skip soaking electrics.
- Dry fully before storing.
Run vinegar-water through monthly to descale. Aroma confirms these parts handle 500+ cycles easily.
Sample Recipes: Elevate Your Aroma Rice Cooker Game
Recipes prove versatility—turn basics into meals. Each uses your cooker fully.
Quick White Rice Pilaf
Savory upgrade in under 30 minutes. Serves 4.
| Ingredient | Amount |
|---|---|
| Jasmine rice | 2 cups |
| Chicken broth (low-sodium) | 3 cups (to line 2) |
| Butter | 2 tbsp |
| Onion, finely diced | 1/2 cup |
| Garlic, minced | 2 cloves |
| Salt | 1/2 tsp |
| Pepper | To taste |
Steps:
- Rinse rice, add to pot with broth, butter, onion, garlic, salt, pepper.
- Select White Rice; cook.
- Fluff and rest 5 minutes.
Variations:
- Swap broth for veggie stock.
- Stir in frozen peas post-cook.
- Add pine nuts for crunch.
Total time: 25 minutes. Pairs with chicken skewers.
Steamed Veggies and Brown Rice Bowl
Healthy powerhouse bowl. Serves 2.
| Ingredient | Amount |
|---|---|
| Brown rice | 1 cup |
| Water | To line 2 |
| Broccoli florets | 2 cups |
| Carrots, sliced | 1 cup |
| Soy sauce | 2 tbsp (for drizzling) |
| Sesame oil | 1 tsp |
Steps:
- Add rice and water; place veggies on steam tray.
- Set to Brown Rice.
- Drizzle sauces after fluffing.
This method steams nutrients in—far better than boiling.
Advanced Tips and Troubleshooting for Perfect Results
Hit snags? You’ve got fixes.
- Mushy rice? Cut water by 10% or rinse longer.
- Burnt bottom? Clear the vent; don’t stir mid-cook.
- Undercooked? Extend rest time to 15 minutes.
- Delay timer trick: Load evening prior for morning oats—sets up to 15 hours.
Reddit’s r/ricecooker threads echo these, with users loving Aroma hacks. For delays: Fill pot, press Delay, set hours, then Rice type.
Conclusion
You’ve now got the full roadmap on how to use Aroma rice cooker step by step—from setup to showstopper recipes. No more soggy disasters; just reliable, fluffy results that free your evenings. Your family will notice the upgrade, and your wallet thanks the efficiency. Pick up an Aroma today from aromahousewares.com or Amazon, fire it up with these steps, and transform your meals.
Ready to dive in? Share your first batch results in the comments below—what rice type will you tackle first? Drop a question, and I’ll tweak tips just for you!
Frequently Asked Questions
How to Use Aroma Rice Cooker for Brown Rice?
Rinse 1 cup brown rice, add water to line 2, select Brown setting. Expect 45-50 minutes plus 10-minute rest. Healthier grains, same ease.
Can You Cook Other Grains in an Aroma Rice Cooker?
Absolutely—quinoa at 1:2 ratio on White, oats at 1:3 on Porridge if available. Experiment safely under max line.
How to Use Aroma Rice Cooker Delay Timer?
Prep rice and water, close lid, press Delay Timer, adjust hours (2-15), then hit your Rice button. Wakes to Warm mode.
Why Is My Aroma Rice Cooker Not Turning On?
Inspect the cord for frays, try another outlet, unplug 30 seconds for reset. If stuck, contact Aroma support.
How to Clean Aroma Rice Cooker Lid?
Soak in warm soapy water 10 minutes, scrub gently with a soft sponge, rinse, air dry. Avoid abrasives.
There are no reviews yet. Be the first one to write one.