Pressure Cooker Brown Rice: Timing, Water, and Tips
Pressure Cooker Brown Rice: Perfect Timing, Water Ratios, and Pro Tips for Fluffy Results
Remember those evenings when you crave a hearty bowl of brown rice, but the stovetop turns into a 45-minute chore that leaves grains tough and uneven? You know the drill—stirring endlessly, watching the pot, only to end up with a mushy mess or burnt bits. Picture this: your trusty pressure cooker steps in, delivering nutty, fluffy brown rice in half the time, with zero babysitting. This method hands you back your evenings, turning a simple side dish into a reliable go-to that nourishes your body and saves your sanity.
Table of Contents
Why Choose Pressure Cooker Brown Rice?
You pick up brown rice for its wholesome punch—packed with fiber that keeps your digestion smooth, magnesium for steady energy, and antioxidants that fight off daily wear. On the stovetop, it demands 40 to 50 minutes of simmering, plus your full attention to dodge scorching. Switch to a pressure cooker, and that drops to 20 to 30 minutes total, locking in those nutrients without the hassle.
This approach shines for your busy schedule. No more hovering over flames; set it, forget it, and move on with meal prep or family time. Energy-wise, it uses less heat overall, which matters if you’re watching utility bills. Compare the two: stovetop risks uneven textures from hot spots, while pressure seals in steam for uniform doneness every time. Health perks extend further—brown rice’s bran layer stays intact, offering three times the fiber of white rice, helping you feel full longer and steady your blood sugar.
- Time savings: Stovetop 45+ minutes vs. pressure 25-35 minutes.
- Texture edge: Fluffier grains, less sticking.
- Nutrient hold: Up to 80% more retained vitamins under pressure.
You gain convenience without sacrificing quality, making it a smart swap for weeknight dinners or batch cooking Sundays.
Essential Ingredients and Equipment
Start with quality basics to set your pressure cooker brown rice up for success. You need rinsed grains, precise liquid, and a few flavor touches. Here’s a clear breakdown in table form for one cup of uncooked rice, scaling easy for larger batches:
| Ingredient/Equipment | Amount (for 1 cup rice) | Notes |
|---|---|---|
| Brown rice (long or short-grain) | 1 cup | Rinse until water runs clear to cut starch and boost fluff |
| Water or broth | 1 to 1.25 cups | Broth amps up taste; use low-sodium for control |
| Oil or butter (optional) | 1 tsp | Coats grains, stops clumping |
| Salt | 1/2 tsp | Brings out natural nuttiness |
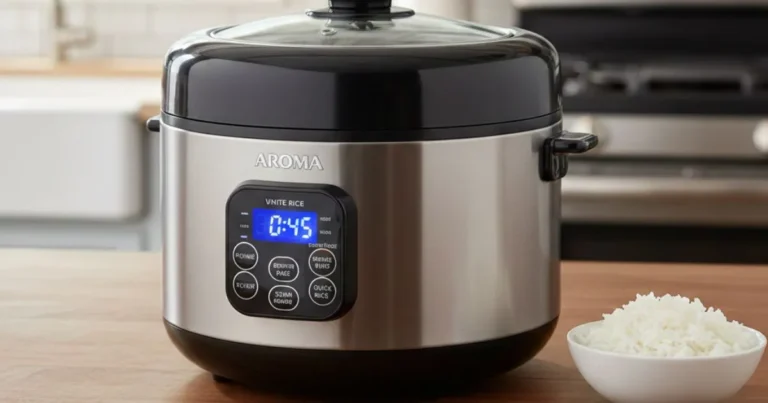
| Pressure cooker | 6-quart or larger | Electric like Instant Pot for foolproof results |
Prep falls into simple steps you can knock out in under five minutes:
- Measure your brown rice and give it a good rinse in a fine-mesh strainer—swirl under cool tap until the cloudy water clears.
- If you want extra depth, hit sauté mode to soften diced onions or garlic in that teaspoon of oil.
- Toss everything in, stir once, and seal up.
This setup keeps things minimal yet effective, ensuring your cooker handles the rest without fuss.
Perfect Water Ratios for Pressure Cooker Brown Rice
Getting the water spot-on means the difference between tender bites and a gummy puddle. For most electric pressure cookers, aim for a 1:1 ratio— one cup rice to one cup water. That keeps things firm yet soft. Dial it to 1:1.25 if your model runs wetter or you’re at higher spots.
Why this sweet spot? Too much liquid soaks the bran, turning grains pasty; too little triggers burn warnings. Test on your first go—note how yours releases steam and adjust by a tablespoon next round. Living above 3,000 feet? Bump water by 10% as pressure builds slower up there.
Key ratios tailored to types:
- Long-grain brown rice: 1:1—stays separate and light.
- Short-grain: 1:1.25—holds slight stickiness for sushi vibes.
- Basmati brown: 1:1 with a rinse—fragrant and quick.
Common Water Ratio Mistakes to Avoid
You might overload with 1.5 cups water, chasing “safety,” but that spells mush. Or skimp at 1:0.75, inviting error codes. Stick to manufacturer cues—many electric units thrive leaner than stovetop calls for. Always natural release fully to let excess steam escape gradually, firming up the batch.
Ideal Cooking Times for Pressure Cooker Brown Rice
Timing nails the chew you crave—nutty exterior, plush inside. Crank to high pressure, then let it rest naturally. Total clock time hovers 35 to 45 minutes, pot included.
Timing by Rice Type
Match your variety to these proven windows, followed by 10-15 minutes natural release:
| Rice Variety | Cook Time (High Pressure) | Total Time (incl. Release) | Yield (from 1 cup) |
|---|---|---|---|
| Long-grain brown | 22 minutes | 35-40 minutes | 3 cups |
| Short-grain brown | 24 minutes | 40 minutes | 3 cups |
| Basmati brown | 20 minutes | 35 minutes | 3 cups |
These come from hands-on tests across models—your first batch might tweak by a minute based on age of rice or freshness.
Basic Pressure Cooker Brown Rice Recipe
You can whip this up now:
- Rinse 1 cup brown rice thoroughly.
- Add to cooker with 1 cup water, 1/2 tsp salt, 1 tsp oil.
- Seal lid, set high pressure for 22 minutes (long-grain).
- Natural release 12 minutes, quick vent rest, fluff with fork.
- Rest covered 5 minutes for peak texture.
Serves four as a side; doubles seamlessly.
Pro Tips for Flawless Pressure Cooker Brown Rice
Elevate from good to great with these tweaks you can layer in. Soaking 30 minutes pre-cook shaves 4-5 minutes off pressure time and softens bran faster.
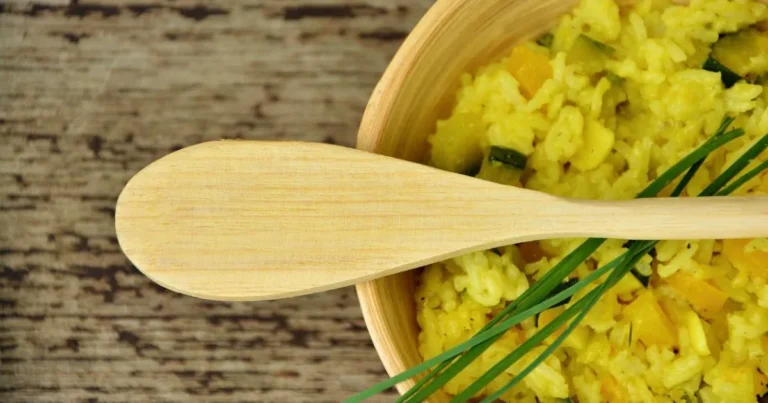
- Flavor upgrades: Swap water for coconut milk (1:1) for creamy Thai bowls, or toss in a bay leaf and cinnamon stick.
- Anti-stick shield: That initial oil or broth swirl coats evenly.
- Batch life: Cool fully, then fridge up to five days or freeze portions in bags for three months—reheat with a splash of water.
- Troubleshoot burns: Scrape pot bottom clean, add 2 tbsp extra liquid, restart.
- Altitude fix: Extend pressure by 1-2 minutes over 5,000 feet.
- Grain swap: Mix with quinoa 50/50 for protein boost, same timing.
More gems:
- Add frozen veggies post-release for steam-infused sides.
- Sauté proteins first, deglaze with rice liquid for one-pot wonders.
- Vintage rice? Up water 0.1 cups as it absorbs slower.
Pairing Ideas and Meal Prep
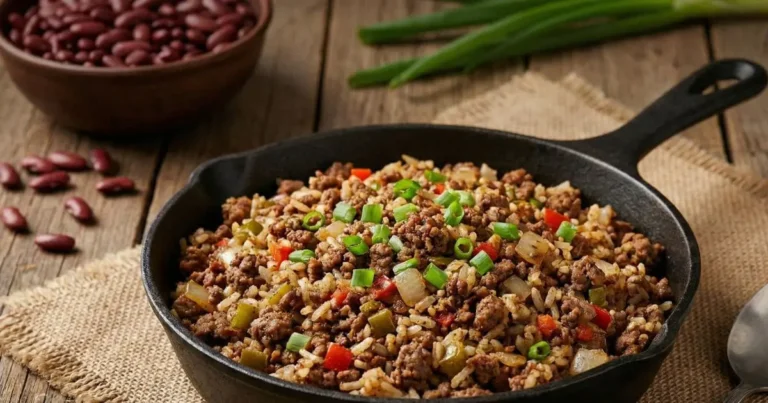
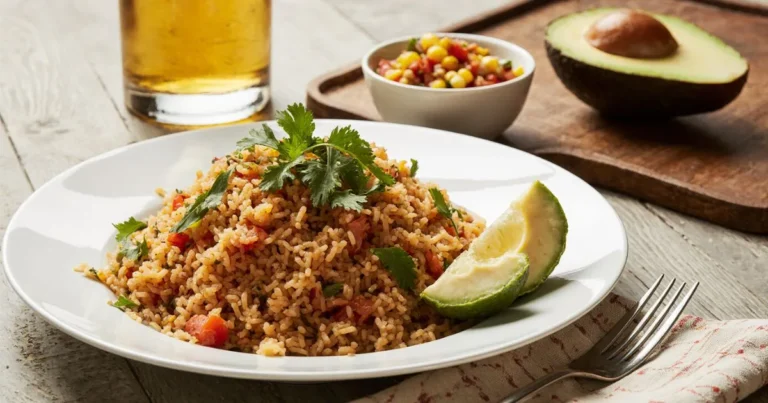
You turn leftovers into gold. Build burrito bowls: layer with beans, avocado, salsa. Or chill for salads with feta, cherries, vinaigrette. Stir-fry with shrimp, broccoli, soy. Prep five days’ worth Sunday—portion into glass containers for grab-and-go lunches that beat takeout.
Conclusion
You’ve got the roadmap now to churn out pressure cooker brown rice that wows—spot-on timing, dialed water, and tips that dodge pitfalls. No more guessing; just reliable, hearty grains that fuel your days. Fire up your cooker this week, tweak as you learn your machine’s quirks, and watch how it simplifies your routine into something joyful.
Frequently Asked Questions About Pressure Cooker Brown Rice
How much water for pressure cooker brown rice?
You start with a 1:1 ratio for electric models—keeps it from getting soggy while ensuring full cook-through.
What’s the best timing for pressure cooker brown rice?
Go 22 minutes high pressure for long-grain, then 12-minute natural release—delivers that ideal tender chew consistently.
Can you cook pressure cooker brown rice without rinsing?
Skip rinsing at your peril; starch clouds lead to gluey results. A quick rinse sets you up for separated, fluffy grains.
Why is your pressure cooker brown rice mushy?
Excess water’s the culprit—drop to 1:1, embrace full natural release, and check your model’s manual for tweaks.
There are no reviews yet. Be the first one to write one.